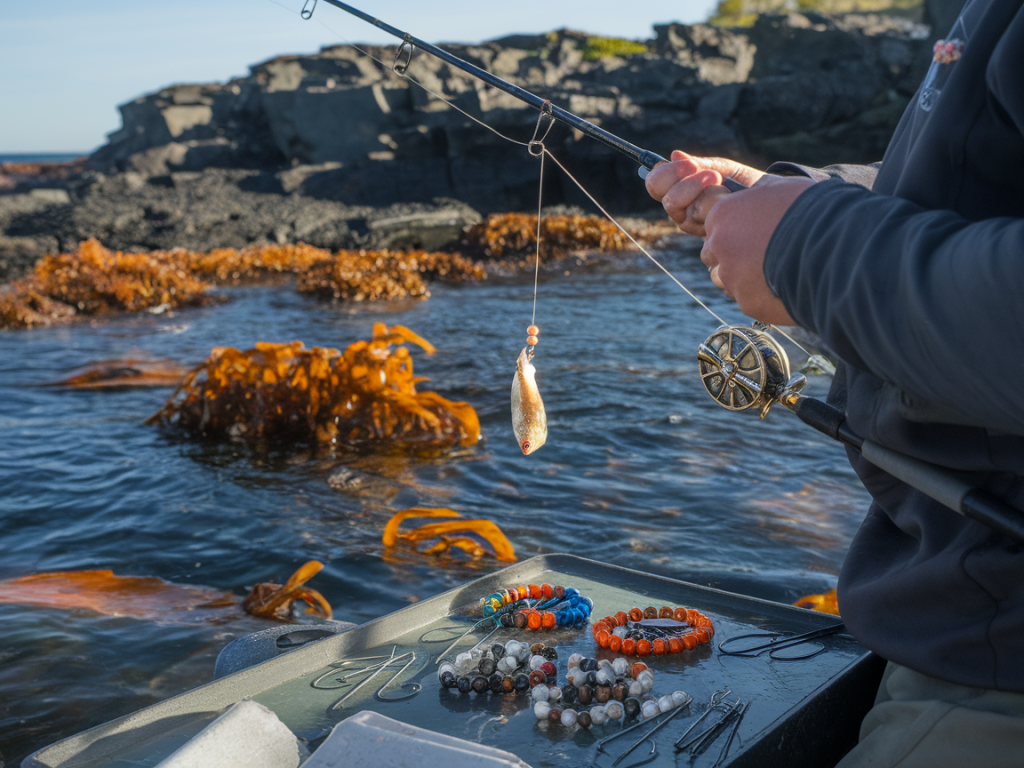
Fishing kelp banks for cod at night is one of my favourite challenges — the tide smells different, the headlamp cuts through the darkness and every bite feels earned. Deadbait is my go-to when the water cools and cod move onto the weed to feed. Over the years I’ve refined a simple, robust presentation that maximises hookups while minimising snags on those messy kelp edges. Below I share the step-by-step method I use, from bead sizes and hook selection to anchoring tactics that keep your rig in place without burying it in the weed.
Why deadbait on kelp banks at night works
Cod feed actively among kelp, especially after dark when more of their prey are easier to catch or are hiding in the fronds. A well-presented deadbait sits near the weed line and gives off scent and profile that cod can home in on. The trick is keeping the bait presented naturally above or just in the weed, and avoiding setups that tangle or snag every other cast.
My standard rig and tackle choices
I use a straightforward ledger setup that’s tough but sensitive. Here’s what’s typically in my bag:
I like to keep things with a practical edge — brands I trust include Owner for hooks, Gardner for beads and split rings, and Fox for anti-tangle sleeves.
Choosing bead sizes and why they matter
Beads aren’t just cosmetic; they act as a spacer, a shock absorber and can add subtle movement to the bait. Size and material affect how the bead sits on the rig and how much noise it makes if it hits the weight. On kelp banks I prefer beads that are large enough to be visible on the rig but small enough to pass through weed without snagging.
| Bead size (typical) | Material | Best for bait | Why I use it |
|---|---|---|---|
| 4mm | Glass / Plastic | Small strips, lugworm pieces | Low profile, minimal snagging, subtle spacer |
| 6mm | Glass | Whole sandeel sections, medium strips | Good balance between visibility and slim profile |
| 8mm | Glass | Large sandeel, whole whiting, herring strips | Creates more movement and spacer action for bulkier baits |
| 10mm+ | Glass | Large whole baits, big chunks of mackerel | Spacing and visual bulk — beware snag risk on heavy kelp |
My typical go-to on most kelp bank sessions is a 6mm glass bead placed between the hook swivel and a short length of anti-tangle sleeve. It’s big enough to hold a small hooklink knot and small enough to slip through weed when the tide moves.
Hook choices — what I use and why
On weed I need strong, sharp hooks that resist bending and have enough gape to take a large chunk of bait. My favourites include:
Hook length and style matter too. I prefer slightly stouter, short-shank hooks on kelp to reduce leverage and avoid the hook being bent by a big cod’s headshake. Wide-gape patterns give a better chance of hooking deeper, particularly with chunk baits. I always carry spares and a hook puller — there are nights when I reshuffle rigs between tides.
Step-by-step rig build for night cod on kelp banks
Here’s the rig I tie most nights. It’s designed to keep the bait presented just above the weed and reduce tangles.
The anti-tangle sleeve is vital here. It forces the hooklink to lay back along the line and keeps the hook from flipping around and burying itself in kelp.
Anchor tactics to avoid snags on kelp
Getting your sinker snagged in kelp is frustrating and costly. I've developed a few tactics that lessen that risk:
Baiting tips and presentation nuances
Bait choice changes with season, but I aim for a clean, well-presented chunk or whole bait that keeps its profile in the current. For example:
When casting in the dark, I check my bait under a headtorch before each cast — light makes it easier to detect damage and ensures your hook point remains exposed. I also vary the length of the hooklink to sit the bait either right in the fronds or slightly above them; small adjustments of 10–20cm can make the difference between a locked weed and a hookup.
If you want, I can share printable rig diagrams or a short gear list for a night session. I often post photo-backed rig guides on the site and social channels, and I’m happy to walk through something specific for your local mark.