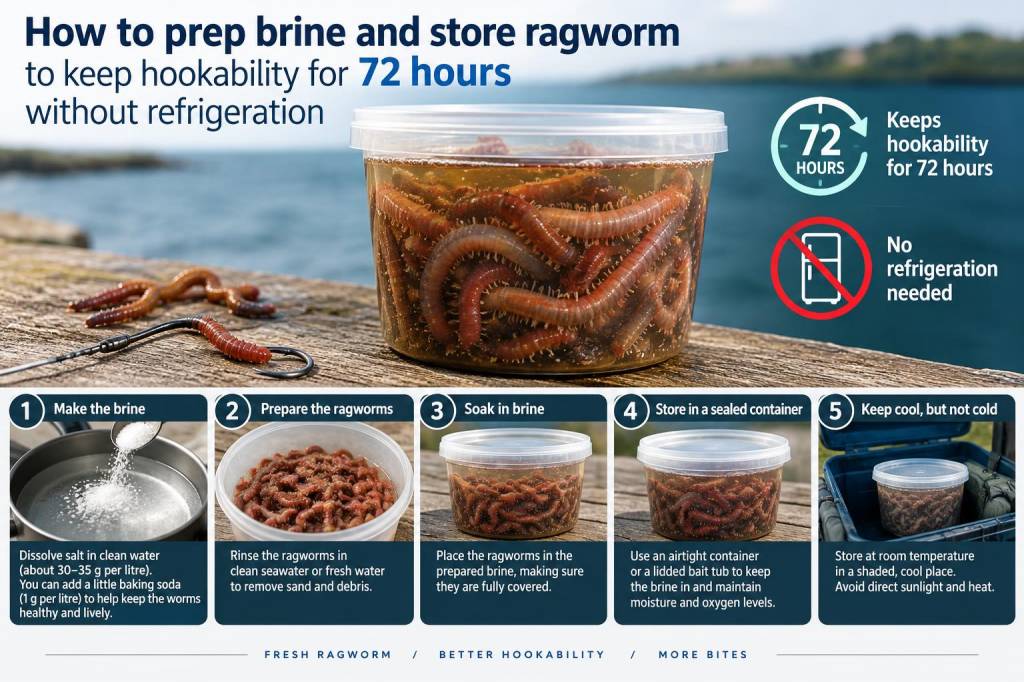
I’ve spent more mornings than I can count fiddling with tubs of ragworm, trying to keep them lively and easy to hook when the tide finally turns. Ragworm are brilliant bait — juicy, tough on a hook and irresistible to many shore species — but they don’t stick around in top condition for long if you treat them like ordinary bait. Over the years I’ve settled on a practical way to prep, brine and store ragworm so they keep usable (what I call “hookability”) for up to 72 hours without access to a refrigerator. Below I’ll walk you through my steps, what to watch for and the kit that makes it work when you’re fishing from a bank, a car park or a caravan park without a kitchen fridge.
What I mean by “hookability”
When I say a ragworm is still hookable after 72 hours, I mean it’s still firm enough to thread on a hook without falling apart, still shows enough movement or turgor to look attractive in the water, and hasn’t developed an off smell or visible decay. That’s the practical definition that matters on a cold, windy shore when you need bait that stays on the hook through a long cast and the first few minutes of the drift.
Supplies I always have with me
These are small, inexpensive bits of kit that make the difference between limp, unusable bait and worms that work for a weekend trip.
Step-by-step: from shore to brine
I’ll assume you’ve dug your ragworm or bought them fresh from a bait shop. These steps get them clean, purge the sand and set them up to survive a few days.
Brine recipe and ratios
Brining is the key to extending shelf life without refrigeration: it firms the worm tissue, slows bacterial activity and reduces the worm’s need for immediate oxygen. I use a slightly stronger-than-seawater brine — it’s firming but not so harsh it shocks the worms.
| Ingredient | Per litre |
| Clean seawater (or tap water + salt) | 1 litre |
| Table salt | 50–70 g (≈5–7% w/v) |
| Optional: a pinch of sugar | 1–2 g (helps osmotic balance) |
If you don’t have seawater, dissolve 50–70 g of table salt in 1 litre of clean water. Stir until fully dissolved and let it settle so any grit sinks. Use the lower end (50 g/L) for delicate, already stressed worms; use 70 g/L if you want a firmer result and the worms are healthy.
How I brine and store
Once the brine is made, follow these practical steps.
Handling during the 72 hours
I check my tubs twice a day. Each check is quick:
How to keep them hook-ready at the peg
When I head to the peg for an evening session, I pack my bait box like this:
A quick trick: dip the worm briefly in the fresh seawater immediately before hooking — it perks them up, removes excess salt taste and makes them more pliable for threading onto the hook.
Signs of failure and food safety
Even with careful brining, not every worm will make 72 hours. Be strict: if a worm smells sour, putrid or just “off”, don’t use it. If the brine goes cloudy and has a bad smell, empty and sterilise the tubs (boiling water or a diluted bleach solution then thorough rinsing) before reusing. I don’t use chemical preservatives — I keep things simple and food-safe.
Common questions anglers ask me
Below are short answers to things I get asked on the shore.
These methods aren’t magic, but they’re what I trust for weekend trips when refrigeration isn’t an option. With a little prep and the right kit you can arrive at the bank with worms that still have life in them and will sit on the hook when it matters.