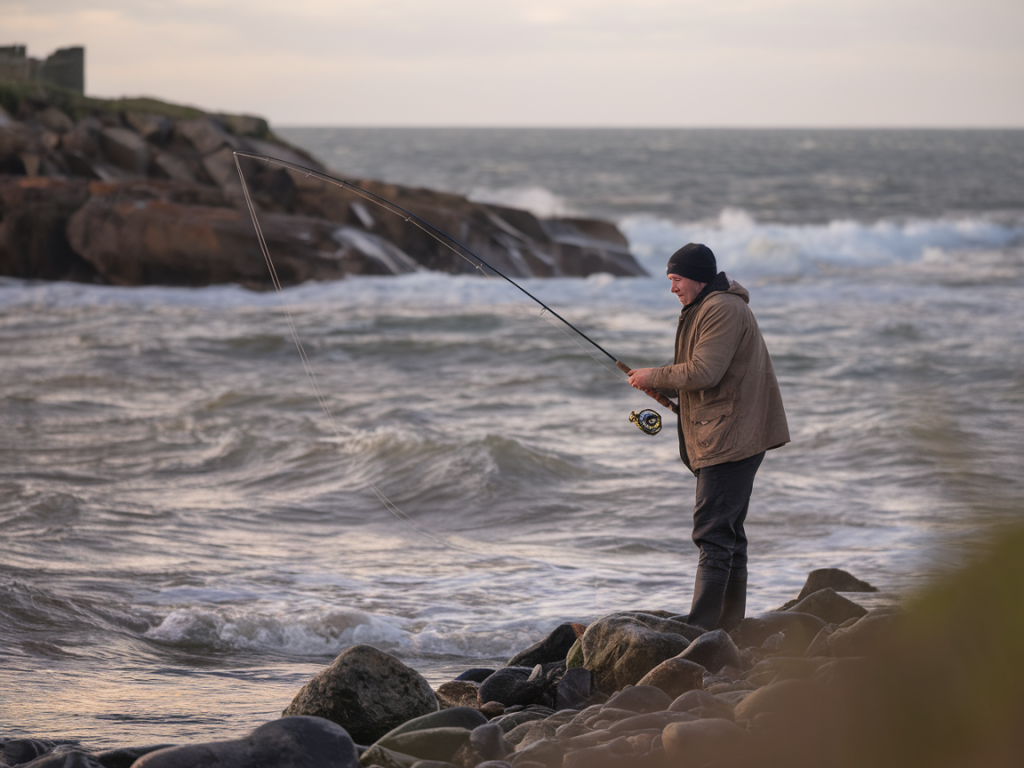
I get asked a lot what I tie up when the swell is building off a rocky Welsh shore. For me, those days are equal parts opportunity and caution: bass move, feed and use the extra water to creep into gullies and over submerged reefs, but the risk of snagging is higher and your presentation needs to stay mobile in surge. Below I’ll walk through the rigs I trust most, why they work in swell, how I rig them, and the small changes that make a big difference when the sea gets lively.
Reading the situation: swell, tide and structure
Before tying anything on, I spend a few minutes watching the water. A building swell usually means more current over the structure, more softening of the wave breaks and a wider feeding window for bass. Look for:
I’ll choose rigs that keep the bait in the strike zone but reduce time on the bottom — the goal is to stay mobile enough to avoid constant snagging yet present naturally in surge.
My go-to rigs on a rocky shore when the swell builds
Below are the rigs I reach for most often. I’ve used them across different Welsh marks from Pembrokeshire boulder fields to Lleyn Peninsula reefs. Each has a reason to be there depending on swell size and how snaggy the bottom is.
Why I use it: It’s simple, casts well and lets the bait move naturally with the swell. The running ledger is my first choice when the swell is up but the bottom has enough sand and stiff weed to allow recovery between snags.
How I rig it: Use a sliding lead (often a speed-sink) on the mainline, followed by a bead and a small rubber sinker stop if you want to prevent the bead from damaging knots. Tie a swivel at the end of a 60–90cm shock leader (30–40lb fluorocarbon), then a 30–40cm fine leader to a long-shank size 1-2 wide-gape hook for softer baits, or a size 1/0 for bigger baits.
What I like about it: The bait gets to swim free and the lead stays on the bottom so you can feel bites. When the swell carries, the running lead lets the fish pick up the bait and run with it without feeling as much resistance.
Why I use it: When I want to cover water and present two baits at different heights — say, ragworm on the bottom and a flapper or sandeel imitation higher — this rig keeps the hooks away from the main mass of the lead and reduces tangles in surge.
How I rig it: Mainline to bead, boom (if using an inline boom), then a fixed dropper on a short snood (10–15cm) and a second longer snood (30–50cm) trailing. Use anti-tangle tubing over the boom and staggered hook sizes — smaller hook for the higher bait. A 3–4oz lead is common but scale up with current.
What I like about it: Gives options for what the bass prefers that day. Also, the boom prevents the hooks riding into the weight and reduces bottom fouling when currents shift the rig.
Why I use it: When the swell builds into a steeper, messier chop and I want the sinker to follow the contours without dragging the bait into the rocks. A fishfinder (safety clip or rubber O) lets the lead detach on the first solid snag, saving gear and preventing line-stretching breaks.
How I rig it: Mainline through a fish-finder / inline lead sleeve, tie to a longish shock leader (1–1.5m of 30–40lb fluorocarbon) attached to a swivel. From the swivel add a 30–60cm hooklink to a single, stout hook (1/0–2/0 depending on bait). Use stiffened leader material to reduce wrapping.
What I like about it: You can use heavier leads and still reduce lost rigs. On steep swell, the fishfinder also helps the lead settle quicker and follow the bottom contours rather than snagging immediately.
Why I use it: When I want the bait to be able to travel a little distance off the weight and sit up in current. The bead or rubber buffer protects the knot and allows the bait to be presented with less tangling in surge.
How I rig it: Mainline to a heavy bead, then a tight-fitting silicon rubber ring or stop that prevents the bead from riding. Attach a heavy swivel to the leader. Hooklink 30–50cm of supple fluorocarbon to a 2/0 long-shank hook for sand-eel or sandeel imitation baits.
Tackle choices that make the rigs work
When swell is building I change a few other things beyond the knotwork:
Bait, presentation and small adjustments
Sandeel (beach-caught if local regs allow), ragworm, and lugworm are my top choices. Soft lures like sandeel imitations (Savage Gear, Savagear Sandeel 10–12cm) work brilliantly on the drop when fish are active. A few tips:
Strike, playing the fish and safety
In swell, the first few seconds are crucial. Bass often pick the bait and head into the trough; you want a quick, confident strike. I set the hook hard but controlled, avoid full-power yanks that snap lines through abrasion, and use the rod’s backbone to keep tension. If the fish heads into structure, keep a steady sideways pressure and try to steer it into open water — sometimes letting the rod tip go over the fish until it tires is what saves the rig.
Safety note: on a building swell I fish conservative distances from the waterline, wear a life vest when marks are slippery, and check escape routes. Losing tackle is annoying; losing yourself is not worth the shot at one more fish.
Quick comparison table — rigs at a glance
| Rig | Best when | Pros | Cons |
|---|---|---|---|
| Running ledger | Moderate swell, sandy patches | Natural movement, easy to feel bites | More snag risk on rough rock |
| Helicopter / boom | Complex bottoms, want 2 baits | Two presentations, reduced tangles | More complex to rig |
| Fish-finder inline | Steep swell, snaggy rock | Lead releases on snag, preserves gear | Can add casting wind resistance |
| Carolina-style | Strong current, want moving bait | Bait sits off bottom, less fouling | Needs fine adjustment for different bottoms |
If you want, I can sketch the knot patterns or give a photo-backed step-by-step for any of these rigs — just tell me which one you’d like to see in detail. Tight lines and watch those waves.